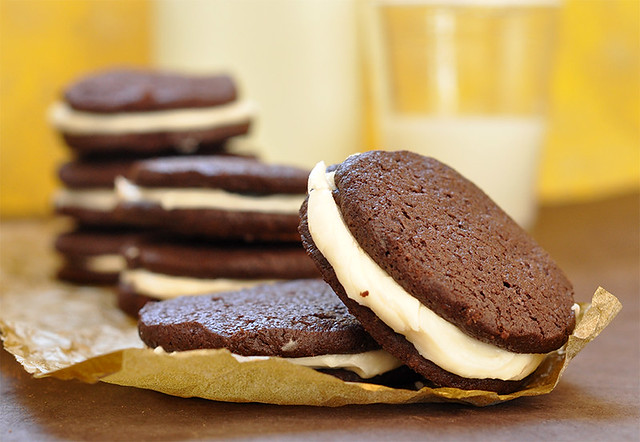
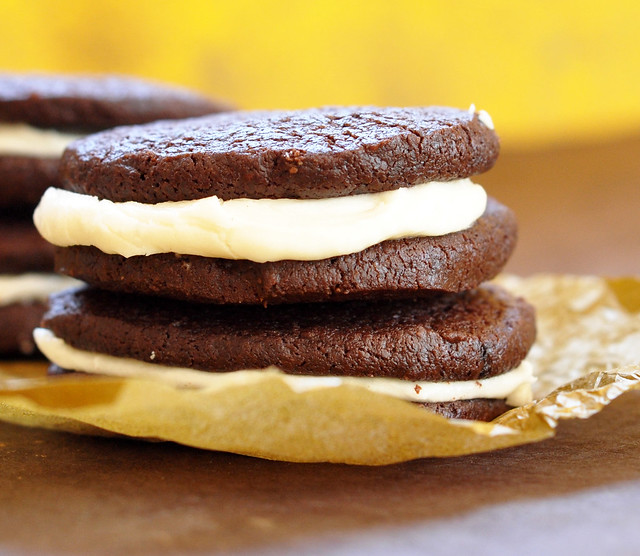
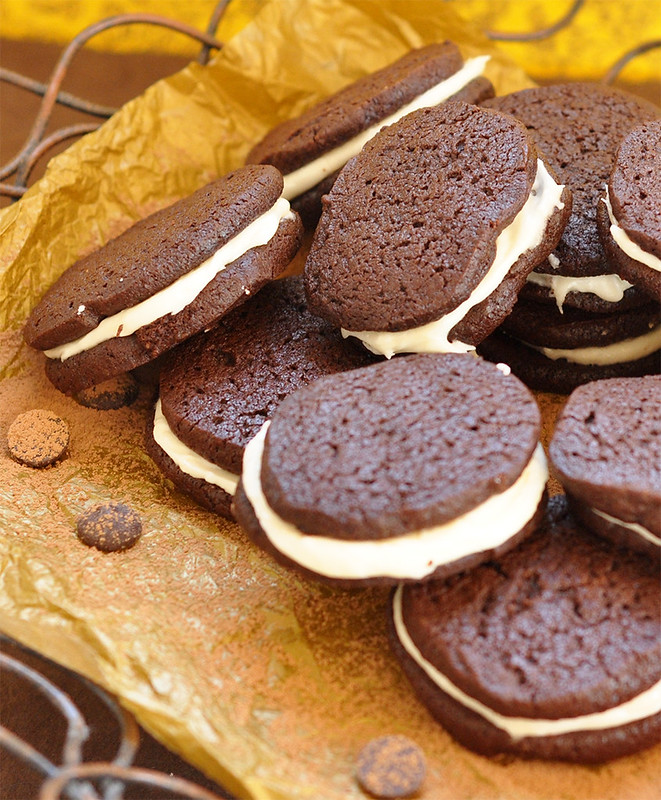
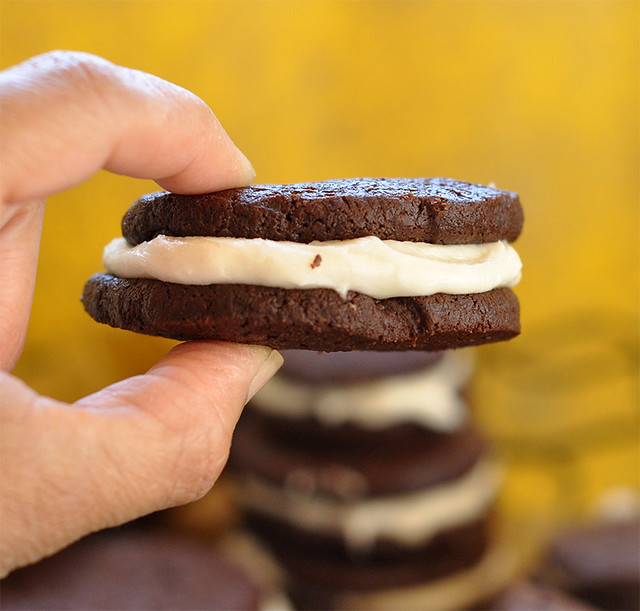
I love Oreo cookies. I love them so much I stopped buying them. If I buy them, there’s a very good chance I’m eating 99% of the contents of the package. But today I bent my rules, and gave in. No, I didn’t buy them. I baked homemade Oreos.
If you are like me, you probably don’t need to know what’s in an Oreo cookie or any cookie–as long as it is good and ready to eat right away.
But every now and then it is good to know how exactly such a beautiful thing came to be. This recipe is really basic. You have chocolate, cocoa powder, sugar, flour, etc., but the right combination of all these ingredients is heaven in every bite.
A word of advice, however. Don’t expect perfectly-shaped Oreos like the ones from the package. The homemade versions are imperfect round and oval shapes, but I promise you that you will totally ignore their odd shapes once you take the first bite.
Enjoy!
Homemade Oreos
Adapted from Joanne Chang’s recipe
Makes 20 Sandwich Cookies
Cookies
1 cup (2 sticks) unsalted butter, melted and cooled slightly
3/4 cup granulated sugar
1 tsp. vanilla extract
1 cup bittersweet chocolate chips, melted and cooled slightly
1 egg
1-1/2 cups unbleached all-purpose flour
3/4 cup Dutch-processed cocoa powder
1 tsp. kosher salt
1/2 tsp.baking soda
Vanilla Cream Filling
- 1/2 cup (1 stick) unsalted butter, softened
- 1-2/3 cups confectioners’ sugar
- 1 tsp. vanilla extract
- 1 Tbs. milk
- Pinch of kosher salt
- You’ll also need two baking sheets lined with parchment paper.
Cookies
In a medium bowl, whisk together the butter and granulated sugar until well combined. Add in the vanilla and chocolate. Then add the egg and mix well. In another bowl, combine the flour, cocoa powder, salt, and baking soda until blended. Pour the flour mixture into the chocolate mixture, keep mixing until it comes together. It will have pretty much the consistency of Play-Doh. Let the dough rest at room temperature for about 1 hour to firm up.
Transfer the dough to a clean counter and with your hands, form dough into a log about 2 1/2 inches in diameter or roll into the size that you want. Then wrap them in parchment paper, finish shaping in the parchment. Refrigerate at least two hours. (You can also make this ahead, wrap in plastic and refrigerate up to a a week or freeze for a month, if dough is frozen, thaw overnight in the refrigerator).
The log may settle and sink a little bit in the fridge, to maintain a nice round log you may want to re-roll it every 15 minutes or so, if you like. If not, your cookies will be more oblong than round.
When ready to bake, preheat oven to 325°F. Cut dough into 1/4-inch slices using a serrated knife. As you are slicing turn a quarter turn each time you slice. This will help keep their shape. These cookies spread a little bit so place the slices about 1 inch apart on the prepared baking sheet. Bake for 20 to 25 minutes, or until the cookies are firm to the touch. Make sure to check a few times after 15 minutes. Remove them from the oven if they feel firm to the touch.
Let cool on the baking sheet on a wire rack to warm or room temperature. Try not to fill them while they are hot.
Vanilla Cream Filling
Put the butter in a mixing bowl and, at low speed, gradually beat in the confectioners’ sugar and vanilla, add milk and salt until blended. (you can also make this filling by hand) You should have about 1 cup. Scoop about 1 tablespoon of the filling onto the flat side of half of the cookies. Place remaining cookies on top, then gently press the cookies together to squeeze filling toward the edges. Store filled cookies in an airtight container at room temperature up to 5 days.

